
Understanding Ductless Mini-Split Installation
What is a Ductless Mini-Split System?
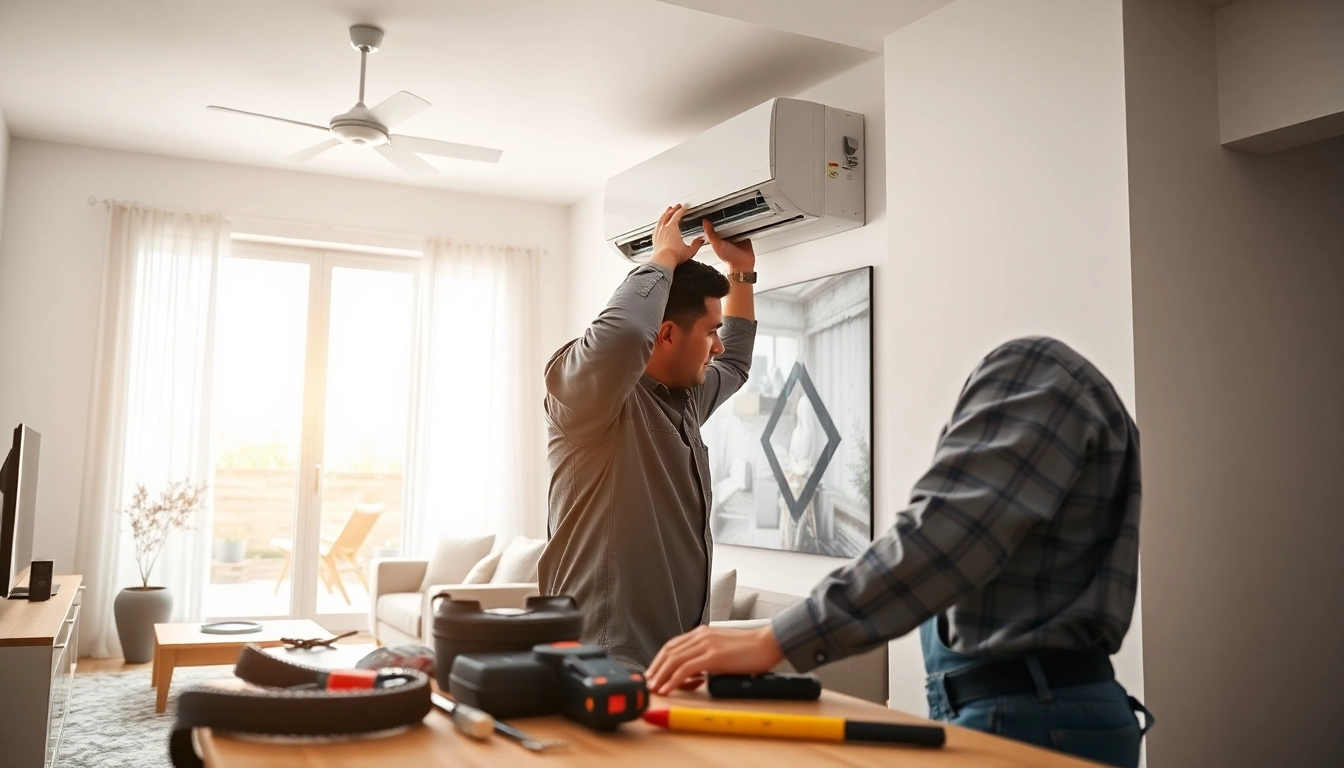
A ductless mini-split system is a versatile and efficient heating and cooling solution that operates without the need for extensive ductwork. This system comprises two main components: an outdoor unit responsible for heat exchange and an indoor unit that distributes conditioned air throughout your space. Mini-splits are an excellent choice for a variety of applications, from single-room installations to multi-zone systems catering to larger homes. Their flexibility allows homeowners to optimize energy use and enhance indoor comfort.
Benefits of Ductless Mini-Split Installation
The benefits of ductless mini-split installation are plentiful and compelling for homeowners looking to improve climate control. Some of the key advantages include:
- Energy Efficiency: Mini-split systems use inverter technology, allowing them to adjust their energy consumption based on the heating or cooling demand, which results in lower utility bills.
- Flexible Installation: Unlike traditional HVAC systems, ductless setups don’t require extensive ductwork. This makes them easier and often less expensive to install, especially in retrofits or challenging spaces.
- Zoning Capability: Each indoor unit can be controlled separately, allowing for personalized comfort in different zones or rooms within your home.
- Improved Indoor Air Quality: Mini-splits come with advanced filtration systems, reducing allergens and maintaining better indoor air quality.
- Minimal Maintenance: With fewer mechanical components than conventional HVAC systems, ductless units require simpler maintenance routines.
How to Choose the Right System
Selecting the right ductless mini-split system involves evaluating several critical factors:
- Cooling/Heating Capacity: Ensure that the system can effectively handle the load requirements of your home. This can be determined by conducting a Manual J calculation, ideally performed by a professional.
- Energy Ratings: Look for units with high SEER (Seasonal Energy Efficiency Ratio) ratings for cooling and HSPF (Heating Seasonal Performance Factor) ratings for heating; this indicates efficiency.
- Noise Levels: Different models may operate at varying noise levels. Consider the sound rating if you’re installing it in a bedroom or a quiet space.
- Features: Consider features like programmable thermostats, smart home compatibility, and multi-zone capabilities that may enhance convenience and efficiency.
Preparing for Ductless Mini-Split Installation
Assessing Your Space
Before installation begins, it’s crucial to assess your space accurately. Evaluate each room’s layout, existing HVAC systems, and insulation levels. Check if the rooms require different temperature settings, which would influence the type and number of indoor units needed. Accessibility for both indoor and outdoor units is vital, including considerations for wall penetrations and ductless lines.
Understanding Installation Requirements
Familiarizing yourself with installation requirements can save you headaches down the line. For instance, ductless mini-splits need adequate space for air circulation and the outdoor unit must be located in an area with proper drainage. Electrical requirements must also meet local codes, and you may require a dedicated circuit. Furthermore, make sure to check any zoning laws or regulations applicable in your area, which may influence your installation process.
Selecting Qualified Professionals
Engaging qualified professionals is a critical step toward ensuring a successful installation. Look for technicians with experience specifically in ductless mini-split setup. Check their credentials, licenses, and customer reviews. A reputable contractor will not only provide installation but can assist with load calculations and recommend the most suitable systems for your needs.
Step-by-Step Ductless Mini-Split Installation Process
Initial Setup and Planning
The installation process begins with initial setup and careful planning. First, determine the best location for both the indoor and outdoor units relative to the zones intended for heating or cooling. The chosen locations should allow sufficient air circulation and accessibility for maintenance. Once locations are confirmed, the next step is to prepare the required equipment and tools, including mounting brackets, refrigerant lines, and electrical connections.
Mounting the Indoor and Outdoor Units
Mounting the units involves various considerations. For indoor units, ensure they are installed at an appropriate height for effective airflow and that they are securely mounted to avoid vibrations. Outdoor units need to be placed on a solid surface, elevated above ground level, allowing for drainage. Proper alignment is critical here, as sloping can lead to operational issues. It’s generally recommended that the outdoor unit is placed in a shaded area to enhance efficiency while avoiding access restrictions from landscaping or debris.
Connecting Electrical and Refrigerant Lines
Connecting the electrical and refrigerant lines is one of the most critical aspects of installation. This step involves running refrigerant lines from the indoor unit to the outdoor compressor. Ensure that the lines are insulated and securely connected to prevent temperature loss and energy deficiencies. Electrical connection involves ensuring that all components are safely wired, often requiring a dedicated circuit. Following manufacturer guidelines is essential here, and don’t hesitate to seek professional assistance if needed.
Troubleshooting Common Installation Issues
Identifying Installation Errors
After installation, it’s crucial to double-check for any potential issues. Common errors can include improper refrigerant charge, inadequate mounting of indoor/outdoor units, and misconfigured settings. Run a system test after installation to see how effectively the system operates. This testing will help to identify whether airflow is adequate or if uneven heating/cooling occurs in certain zones.
Resolving Refrigerant Leaks
Refrigerant leaks can significantly impact system performance. Symptoms may include decreased cooling output or hissing sounds from the system. If you suspect a leak, it’s vital to turn off the unit and contact a certified technician promptly. Regular maintenance can also help prevent leaks by ensuring all connections are secure and components are regularly checked for wear and tear.
Ensuring Optimal System Performance
Running performance checks on your ductless mini-split can help maintain efficiency. Regularly check thermostat calibration, system filters, and airflow pathways. Scheduling regular professional maintenance can catch potential issues before they become significant problems, ensuring your system operates at peak efficiency throughout its lifespan.
Maintaining Your Ductless Mini-Split System
Regular Cleaning and Maintenance Tips
Ongoing maintenance of your ductless mini-split system is essential for longevity and performance. Here are some tips:
- Clean or replace filters every one to three months based on usage.
- Clear any debris from around outdoor units to promote airflow.
- Inspect the blower for dust accumulation and clean it as necessary.
- Check drain lines for clogs frequently to prevent overflow hazards.
Signs Your System Needs Professional Servicing
Being vigilant can ensure your ductless mini-split functions efficiently. Watch for:
- Unusual noises during operation, indicating potential mechanical issues.
- Inconsistent temperatures across rooms, suggesting airflow problems.
- Higher-than-usual energy bills that don’t correlate with changes in usage.
- Foul odors emanating from the unit, which can signal mold or electrical issues.
Understanding Warranty and Service Agreements
Familiarize yourself with warranty terms provided by the manufacturer and service agreement options offered by professionals. Most systems come with comprehensive warranties covering parts for several years. Ensure that all installation work is documented properly to avoid issues when claiming warranty, and consider routine maintenance plans as they can often include discounted service rates and priority scheduling.
Frequently Asked Questions (FAQs)
What is the average cost of ductless mini-split installation?
The cost of ductless mini-split installation can vary but typically ranges from $3,000 to $5,000, including both the unit and installation labor.
Are ductless mini-splits energy-efficient?
Yes, ductless mini-splits are highly energy-efficient, often yielding lower utility bills than traditional HVAC systems due to their inverter technology and zoned heating/cooling capabilities.
How long do ductless mini-split systems last?
With proper maintenance, ductless mini-splits can last 15-20 years, making them a long-term investment for home heating and cooling needs.
Can I install a ductless mini-split system myself?
While it is possible, DIY installation is not recommended. Professional installation ensures compliance with safety standards and optimal efficiency of the system.
Do I need to maintain a ductless mini-split system?
Yes, regular maintenance such as cleaning filters and checking for blockages is crucial to ensure optimal performance and longevity of the system.