
Understanding Vapor Barrier Installation
What is Vapor Barrier Installation?
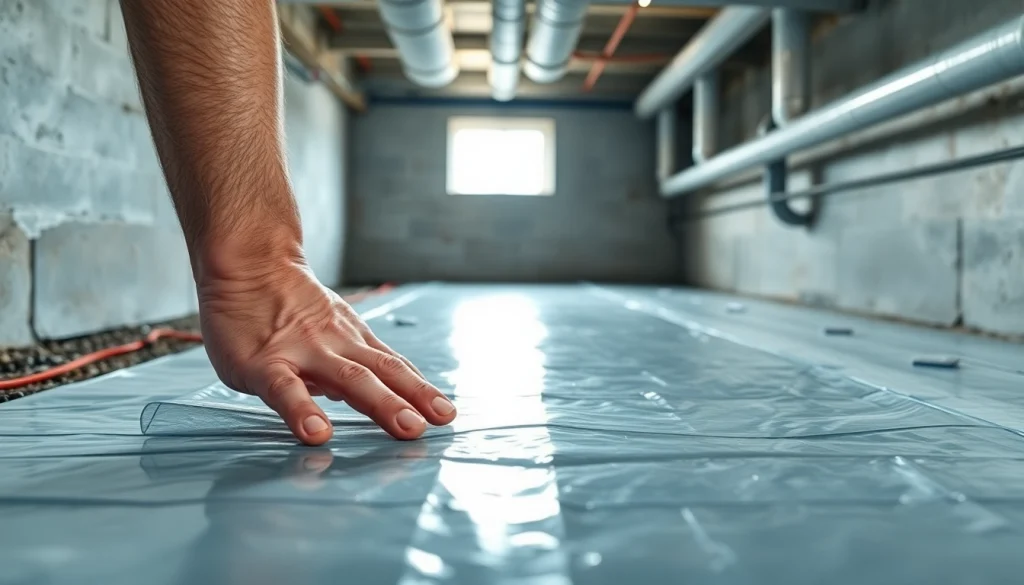
Vapor barrier installation entails the process of laying down a protective film or membrane in areas such as crawl spaces or basements to control moisture levels. The primary function of this installation is to prevent groundwater and moisture from infiltrating the interior of a home, reducing the risk of mold, mildew, and structural damage. A well-executed Vapor Barrier Installation is critical in maintaining a healthy indoor environment and ensuring energy efficiency.
Importance of Vapor Barriers in Homes
Vapor barriers play a vital role in safeguarding homes, particularly those with crawl spaces and basements, from excess moisture that can lead to a multitude of problems. By installing a vapor barrier, homeowners can minimize humidity levels, which helps to protect wooden structures from rot and prevents the growth of mold and mildew that can compromise indoor air quality. Furthermore, a vapor barrier contributes to energy efficiency by reducing the workload on HVAC systems, leading to lower energy bills. Overall, the installation of vapor barriers is a proactive step in maintaining both the integrity and the comfort of a home.
Common Materials Used for Vapor Barriers
The effectiveness of a vapor barrier is largely dependent on the materials used in its construction. Common materials include:
- Polyethylene sheeting: This is one of the most popular options, available in various thicknesses, offering excellent moisture resistance.
- Foil-faced insulation: This type provides an additional thermal barrier while acting as a vapor retarder.
- Spray-on vapor barriers: A more advanced solution, these provide an airtight seal but may require professional installation.
- Bituminous membranes: Used mainly in commercial applications, these provide durability and superior moisture resistance.
Steps for Proper Vapor Barrier Installation
Preparing the Crawl Space or Basement
Preparation is key to effective vapor barrier installation. Before laying the vapor barrier:
- Clear the area of debris, sharp objects, and any standing water.
- Inspect for signs of mold, mildew, and structural damage and address these issues as necessary.
- Ensure proper drainage systems are in place to divert potential water ingress.
- Consider leveling the ground to provide a clean, flat surface for installation.
Applying the Vapor Barrier Correctly
Applying the vapor barrier requires precision to ensure effectiveness:
- Unroll the polyethylene sheeting across the floor of the crawl space or basement, covering any openings.
- Extend the material up the walls for a minimum of 12 inches and secure it using tape or adhesive.
- Overlap seams by a minimum of 12 inches to ensure no gaps are present, allowing moisture to penetrate.
- Cut the material with a sharp utility knife for smooth edges and to avoid tearing.
Sealing and Overlapping Techniques for Efficiency
Sealing is crucial for a vapor barrier’s effectiveness:
- Use high-quality vapor barrier tape to seal overlaps between different pieces of sheeting.
- Ensure all edges touching walls are secured with more tape, avoiding any potential moisture entry points.
- For added security, consider applying a sealant around post bases and pipe penetrations.
Best Practices for Maintaining Vapor Barriers
Regular Inspections and Upkeep
Even after the installation, maintaining a vapor barrier is essential for long-term effectiveness. Perform inspections at least once a year:
- Look for visible signs of wear or damage, including tears or punctures.
- Check for moisture build-up or condensation on the barrier surface.
- Ensure that the sealing methods remain intact and reapply tape or adhesive as necessary.
Identifying Signs of Damage
Homeowners should be vigilant about monitoring for signs of damage, which can include:
- Visible moisture accumulation within the crawl space or basement.
- An increase in mold and mildew growth around the barrier or nearby surfaces.
- Musty odors emanating from the area, indicating poor air quality.
Repairing or Replacing the Barrier
Upon identifying damage, take prompt action to repair or replace the vapor barrier:
- For minor tears, use a strong tape specifically designed for vapor barriers; for larger areas, it may be necessary to replace sections.
- In cases of significant mold growth, replace the entire barrier and assess the underlying causes of moisture.
Comparative Cost Analysis of Vapor Barrier Installation
Factors Influencing Installation Costs
Several factors can influence the cost of vapor barrier installation:
- Size of the area: Larger spaces will require more materials and labor.
- Material choice: The type of vapor barrier material selected can greatly affect costs, with heavier-duty options typically being more expensive.
- Labor costs: Hiring a professional may add to overall expenses, though DIY can reduce costs if done correctly.
- Accessibility: Areas that are difficult to access may incur higher labor costs due to the extra effort required.
Cost-Saving Tips for Homeowners
Homeowners can implement several strategies to minimize costs:
- Consider a DIY installation if you feel comfortable with the project and have the necessary tools.
- Purchase materials in bulk to take advantage of discounts.
- Regular maintenance can prolong the life of your vapor barrier, reducing the need for replacement.
Long-Term Savings Through Quality Installation
Investing in high-quality vapor barrier installation does lead to substantial long-term savings. A well-installed vapor barrier minimizes future moisture issues, leading to cost savings in repair work, energy bills, and health-related expenses due to impaired indoor air quality. Effective moisture control also extends the lifespan of a home’s structural components, providing significant overall value to homeowners.
Frequently Asked Questions about Vapor Barrier Installation
How long does a vapor barrier last?
A well-installed vapor barrier can last anywhere from 15 to 30 years, depending on materials and environmental factors.
Can I install a vapor barrier myself?
Yes, a vapor barrier can be a DIY project if you have basic skills and tools. However, professional installation is recommended for complex situations.
What are the signs my vapor barrier needs replacement?
Signs include visible tears or punctures, excessive moisture in the area, and mold growth in the crawl space or basement.
Do all crawl spaces need a vapor barrier?
Not all crawl spaces require a vapor barrier, but homes in humid regions typically benefit significantly from one to control moisture levels.
What should I do if I see moisture in my crawl space?
Address drainage issues first, then inspect the vapor barrier for damage. Repair or replace the barrier if necessary to prevent future moisture problems.